

Travel Photography For Beginners: 11 Tips For Better Photos
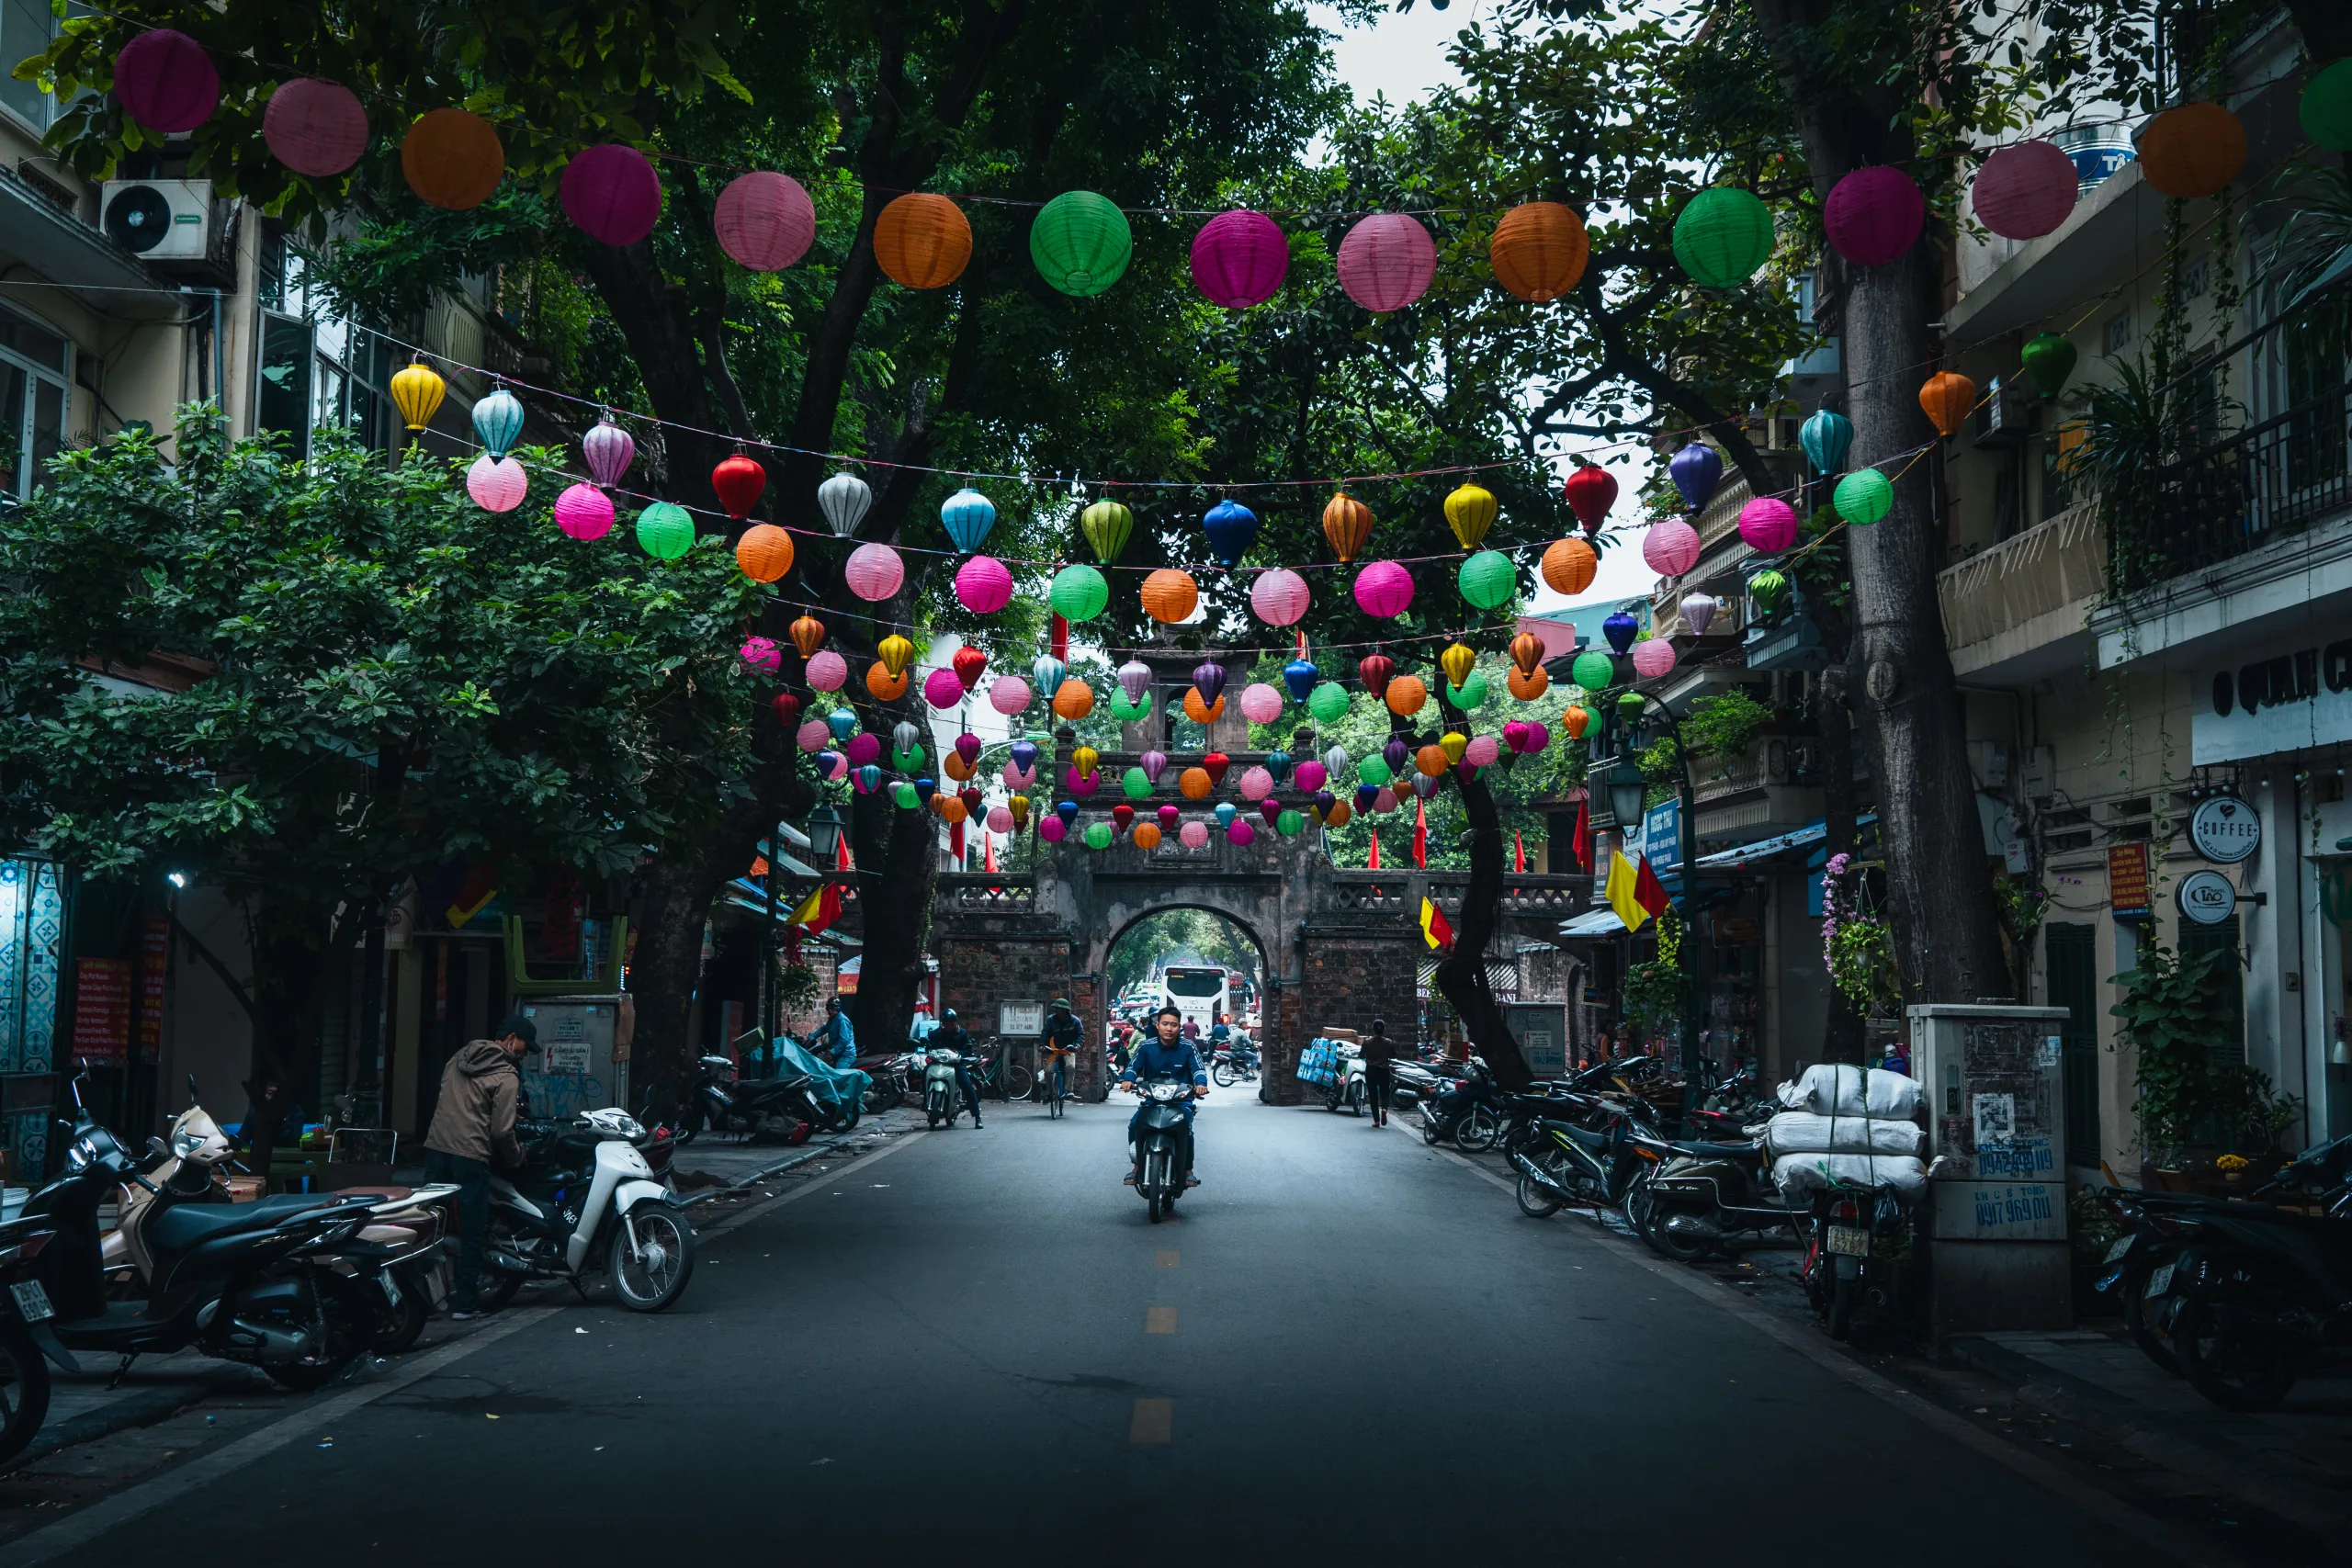
Welcome to my travel photography for beginners guide! Photography is what gave me the travel bug to begin with – I became obsessed with capturing locations all over the world and loved showing the way of life in many countries. I’ve since taken photos in locations far and wide, everywhere from the bustling hubs of Tokyo & Hanoi to lesser known locations in the Balkans, all the way to Morocco!
This post may contain affiliate links to things like hostels and products. These help me earn a small commission to keep the blog running at no cost to you!
Travel Photography For Beginners
Travel photography for beginners! Where do I start?
I suppose if you’re reading this you’ve either recently bought a camera and looking to improve photography skills or you’re still thinking about it and want to get some insights before going all in.
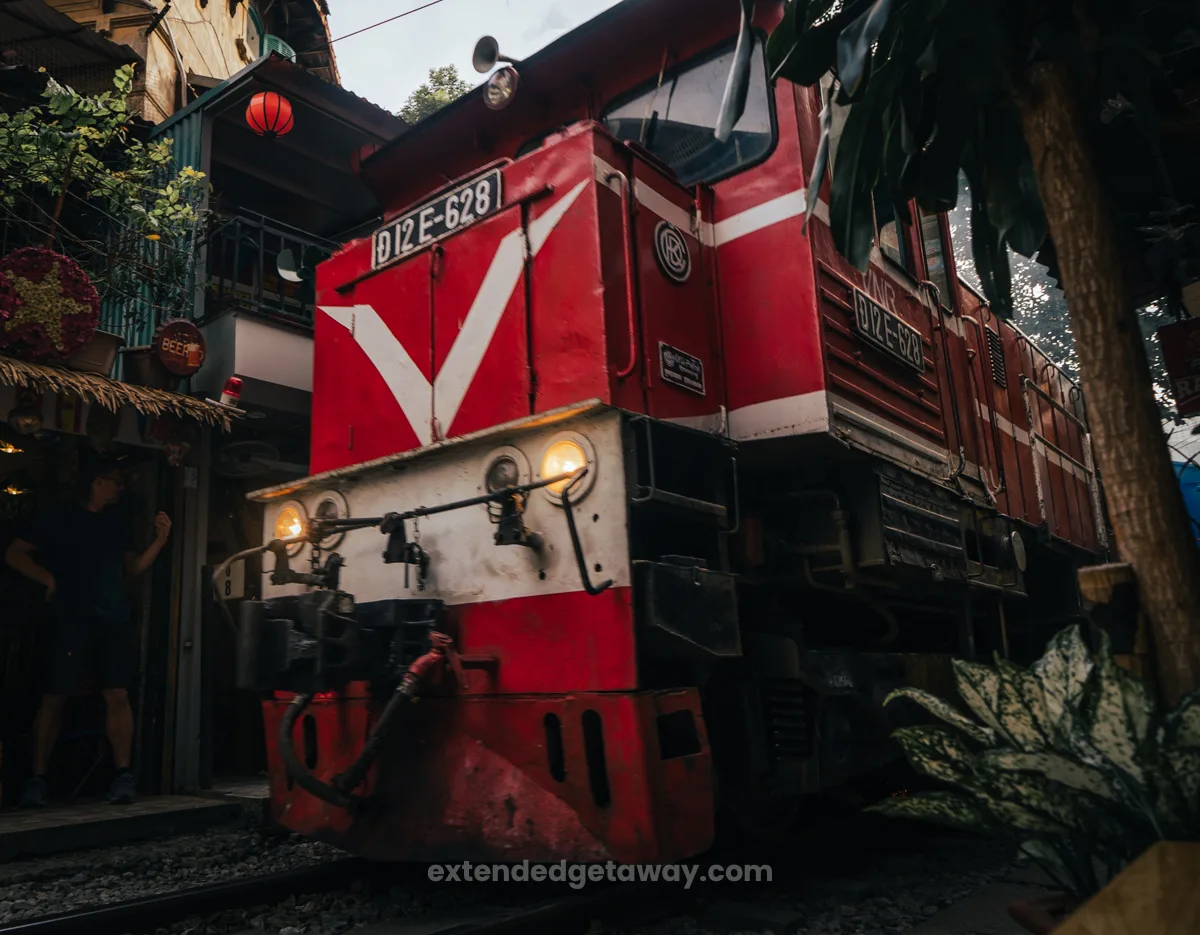
Either way, i’m glad your here – whether you want to take better photos on your holidays or you want to go even further and pursue a career in this field!
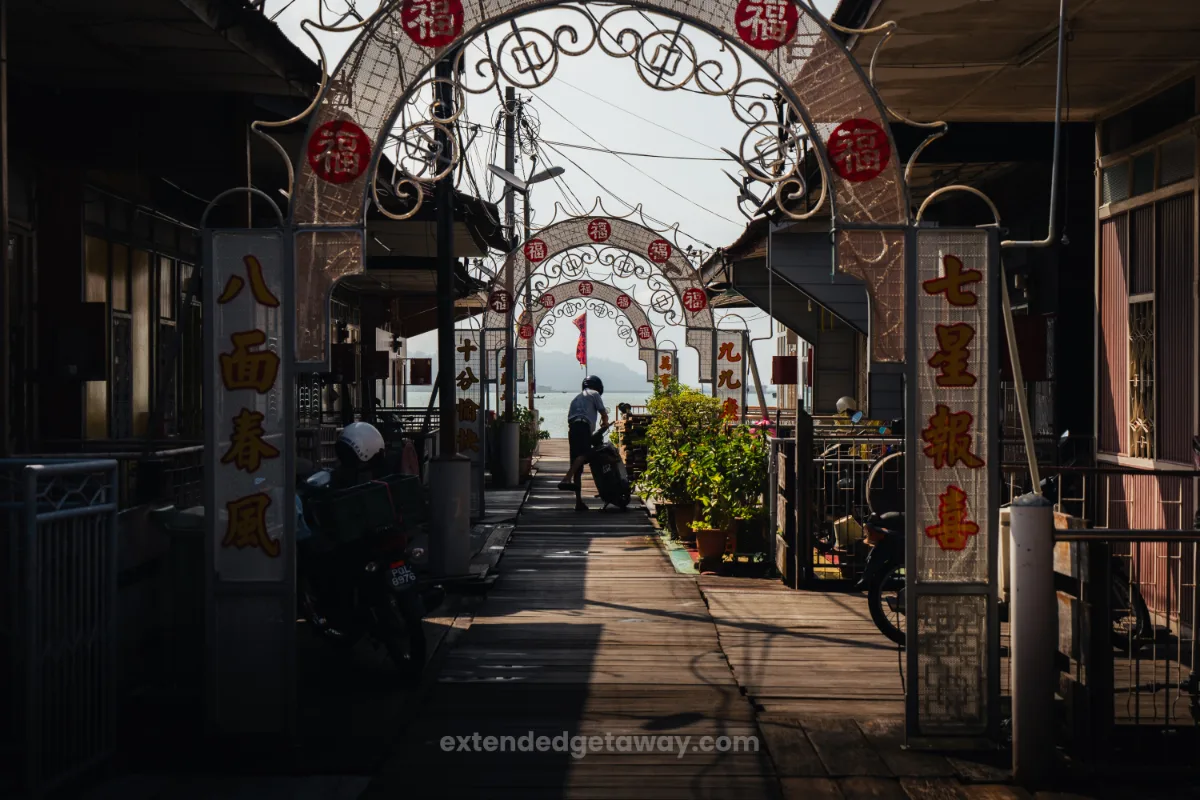
This guide on travel photography for beginners covers travel photography basics as well as 11 tips for taking better travel photos. This is everything i’ve learnt since picking up my first camera when I was 16 years old all in one place!
So here it is – things you need to know in travel photography for beginners:
See also: Backpacking With Camera Gear

Fundamentals of Travel Photography
Travel photography for beginners can be a bit daunting without knowing the fundamentals of travel photography. Whilst going in blind and learning the basics yourself may sound good – it might actually put you off practicing!
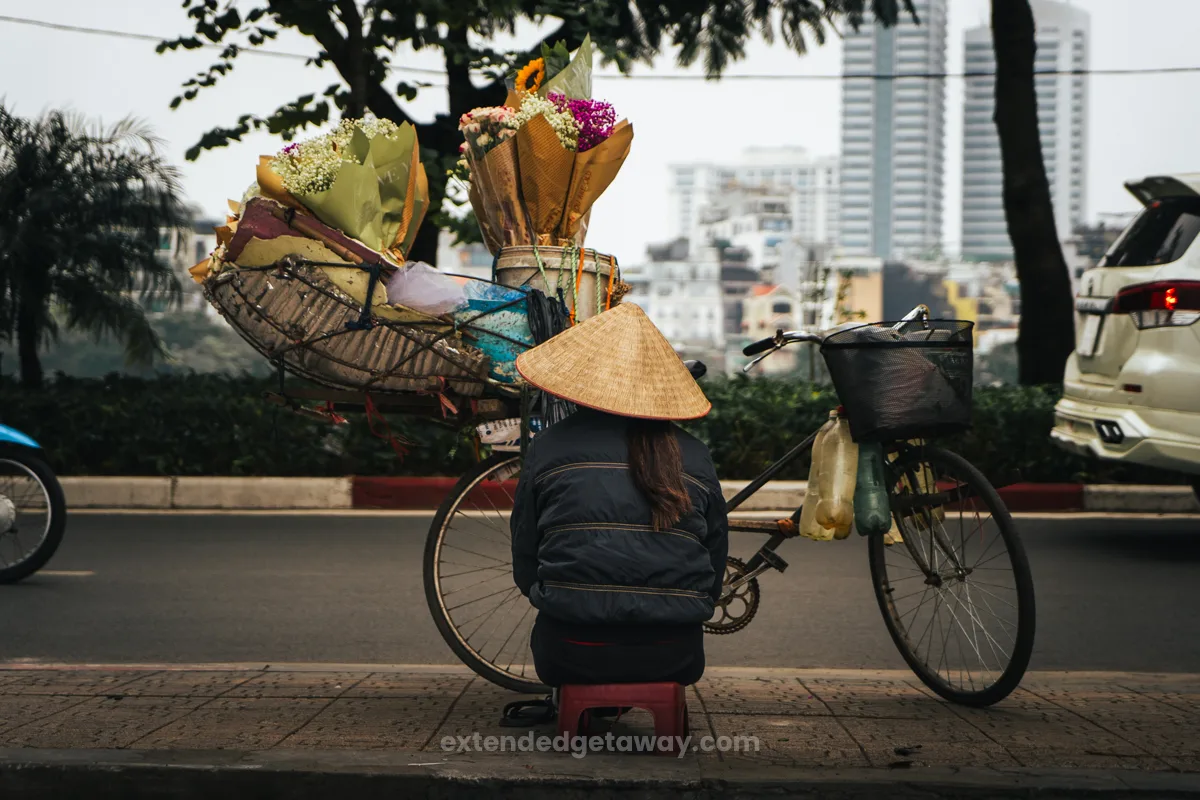
Having at least a bit of an idea about shutter speed, aperture, ISO and the overall exposure of an image before heading out in the field will save you a lot of time and gets you focused on the actual photos themselves, rather than the camera.
When I first started taking photos as a teenager, I went in completely blind and I wish that I had learned the basics before taking photos!
What Is Shutter Speed?
Out of all of the basic settings on a DSLR or Mirrorless Camera, shutter speed is probably the first one you naturally come to grips with. It’s fairly straight forward.
In short – shutter speed is the length of time the shutter is open, allowing light to hit your camera sensor.
The faster (higher number) the shutter speed, the quicker the shutter clicks which is really helpful in situations with a lot of natural light or when you’re taking photos of fast-moving subjects like a bike or a car.
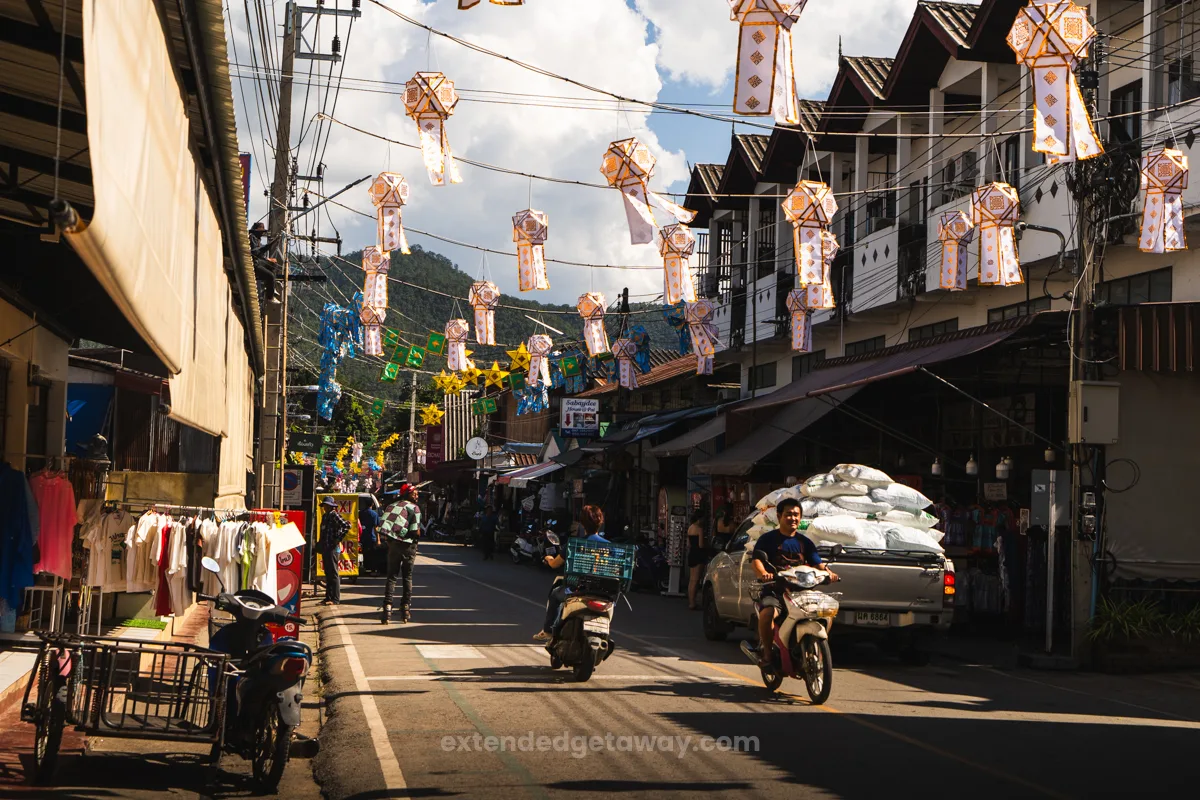
Now, a slower (lower number) shutter speed means that the shutter is open for longer, making it so a larger amount of light is let into the camera. This helps in situations where there’s not a lot of natural light. A downside to this is depending on how long it’s open, you will need to be more stable holding the camera so you don’t get any motion blur.
Pro tip: For travel photography, i’d recommend keeping the shutter speed at 1/160 or higher to ensure the image is sharp and in focus.
Aperture & Depth of Field
Aperture is the next thing you need to understand in travel photography for beginners. It’s another way you can control the amount of light into your camera sensor. This time, it has to do with the lens itself.
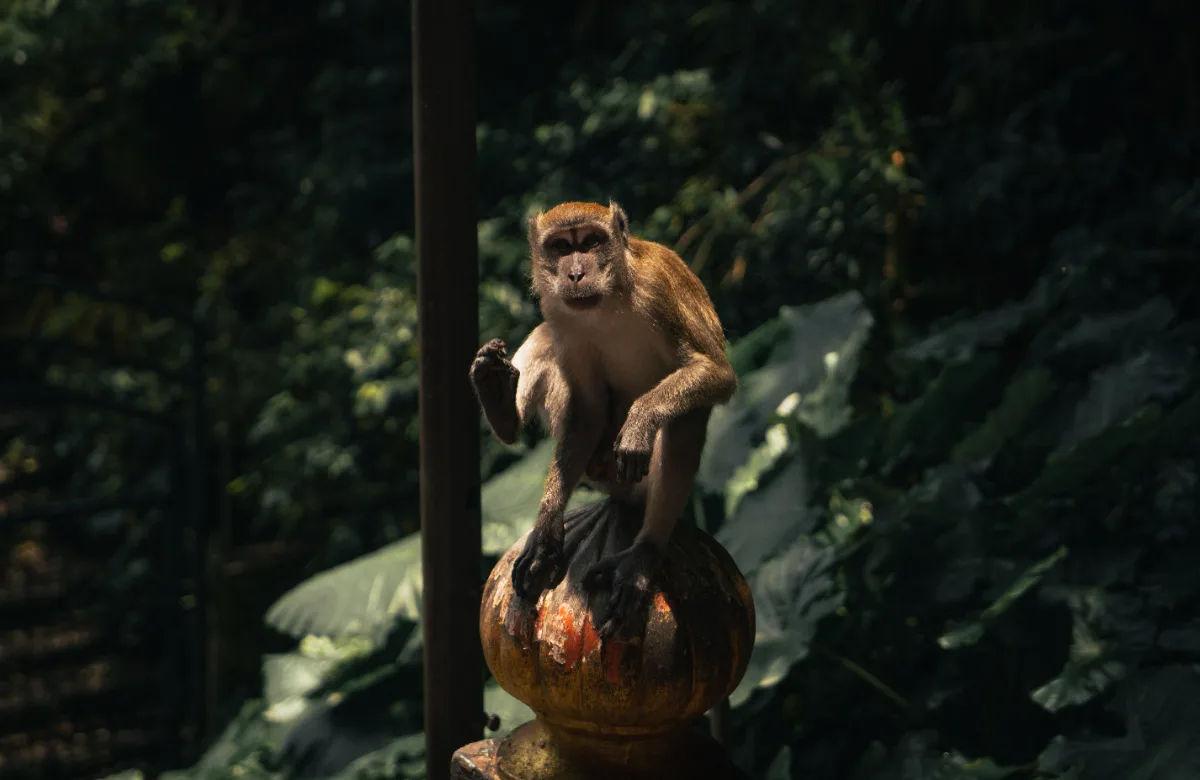
Basically, aperture refers to how “open” a camera lens is. The more open (lower number) your aperture is the more light gets let into the camera. This helps counteract a high shutter speed but it also helps you achieve the sexy soft, blurry background best for taking photos of people.
On the other hand, having a more closed (higher number) aperture means less light gets let into the camera but it also helps for landscape photography, as more of the image is in focus.
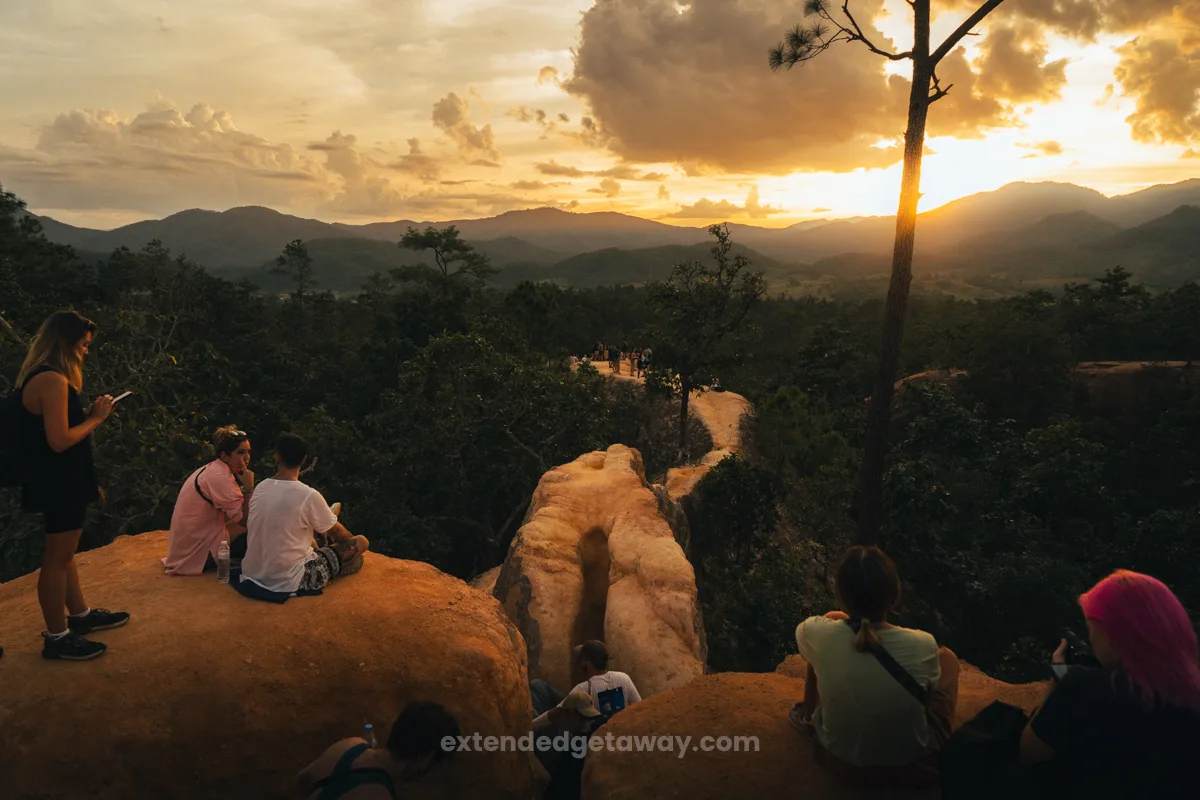
Pro tip: For landscapes, i’d recommend anything between f/5.6-13 and for pictures of people, below f/5.6 is a great starting point.
ISO
In travel photography for beginners, it’s important to know the role of ISO. Similar to shutter speed and aperture, it also controls the exposure of the image. But unlike those two, it is not a natural camera operation but rather a way you can brighten the image artificially.
This helps at night when there isn’t a lot of light around.
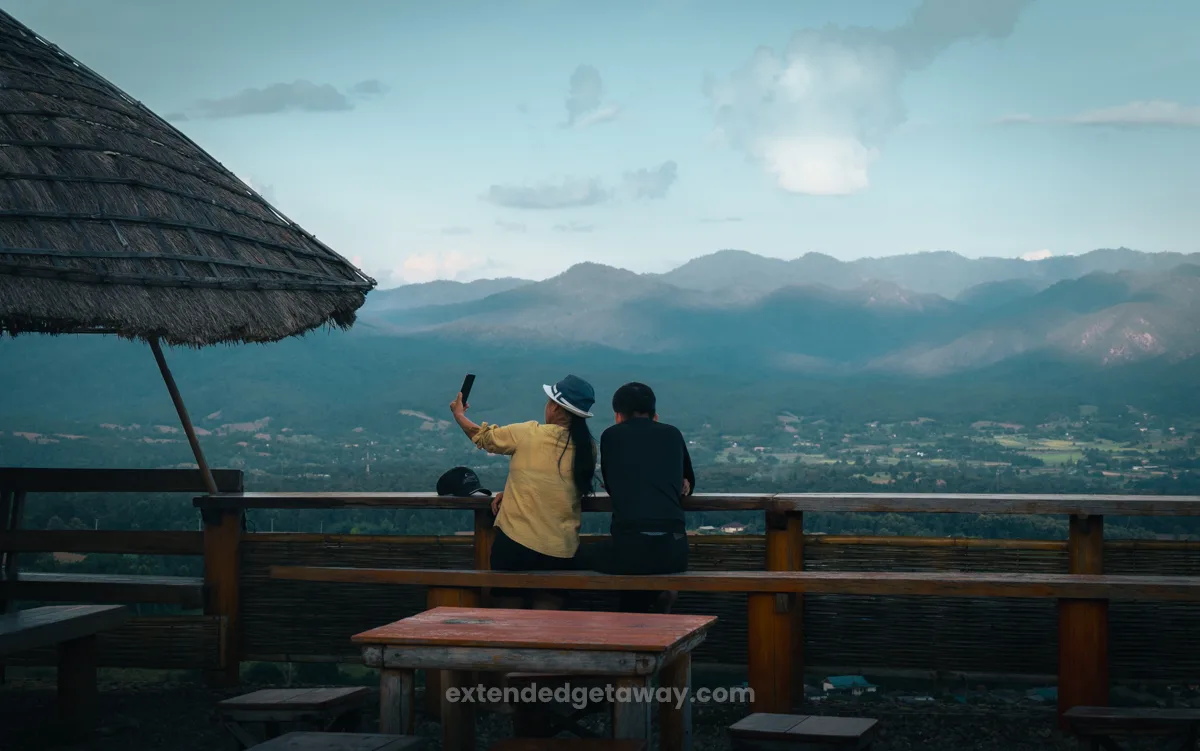
Most modern photography cameras generally start at ISO 100. You should aim to keep it as close to this number as possible, as the higher your ISO, the more grain gets introduced to the image – which we don’t want! Adding grain should be a post-processing decision.
Pro tip: Avoid touching your ISO control unless it is absolutely necessary. If you can’t achieve the correct exposure in your image with just the shutter speed and aperture, try not to go above ISO 1000 as that’s generally when things get a lot more grainy and soft.
Exposure
By combing shutter speed, aperture and ISO – the goal is to get the correct exposure. But what is exposure?
Exposure refers to the overall brightness of the image and is a tricky thing to perfect in travel photography for beginners.
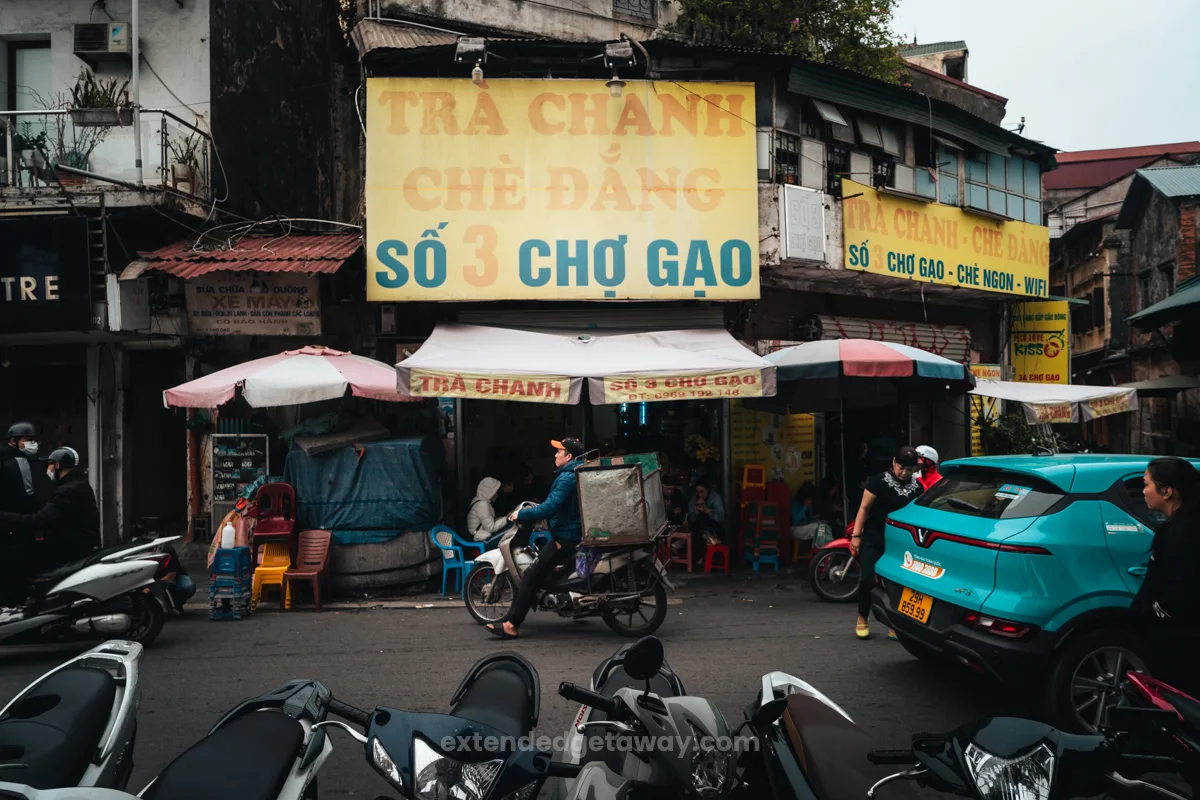
You may have heard of photos being either underexposed or overexposed. Too bright or too dark, basically. On both ends of the spectrum, detail is lost and it is up to you to try and salvage it in the editing process.
Here is a great article on how to get the correct exposure every time.
Travel Photography Tips
Now that you’ve learnt the basics of travel photography for beginners, now it’s time to enjoy the creative aspect of it! This is a collection of tips that i’ve picked up ever since getting my first DSLR camera at 16 that helped me get so much better at not only travel photography, but photography in general.
But to be clear, practice makes perfect! Don’t be deflated if you’re not a pro straight away. No one was good in the beginning.
1. Learn the Rule of Thirds in Photography
This is number one because it’s so crucial in travel photography for beginners. It will improve your photos instantly.
The idea behind the rule of thirds is that the human eye has a tendency to be pulled towards the intersections of a photo if it’s divided into thirds. This means if you place a subject on these points it will tickle the viewer’s subconscious and they’ll think “yeah, that’s nice”.
Here’s a couple of examples of photos i’ve taken:
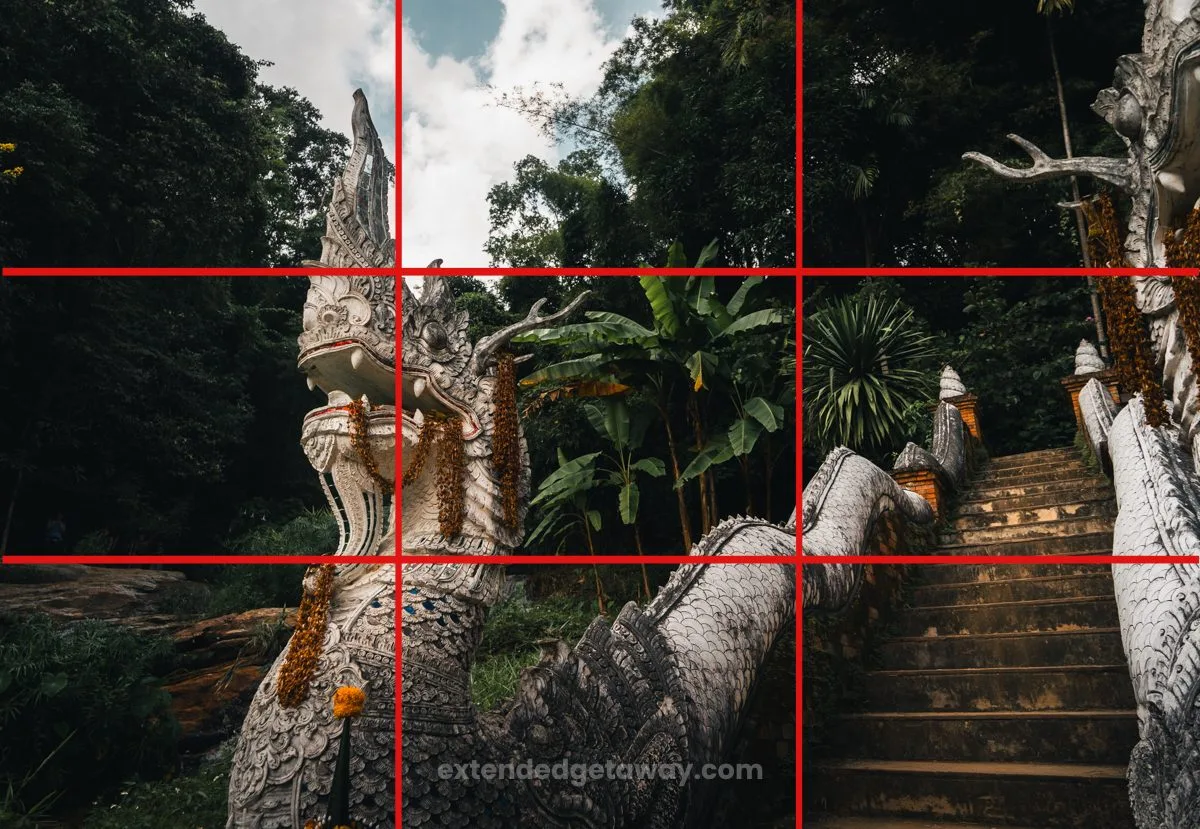
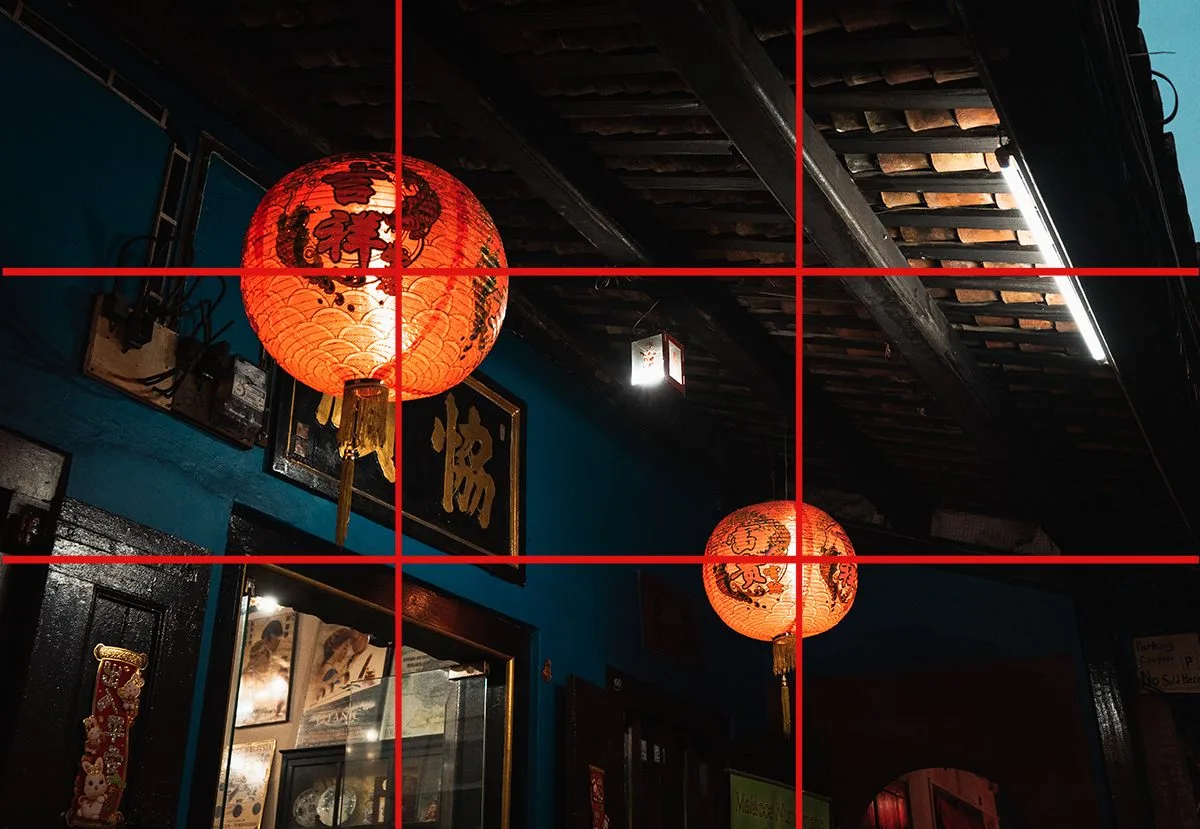
90% of the time i’m taking photos with a subject on one of these points. The only exception to this is when I am centering something in the image, which is a great composition technique.
I don’t actively think about using the rule of thirds anymore – over time and with plenty of practice it becomes natural and you won’t even realise you’re doing it!
Pro tip: To help, most modern cameras will have a grid setting that you can switch on in the viewfinder – showing you where you can place your subjects.
2. Look for Leading Lines
In travel photography for beginners, leading lines isn’t something you would think of.
Like the rule of thirds, this is a way of taking advantage of the human brain. Only this time, instead of putting subjects in places where the human eye naturally gravitates towards, we force them to look where we want them to through the use of leading lines.
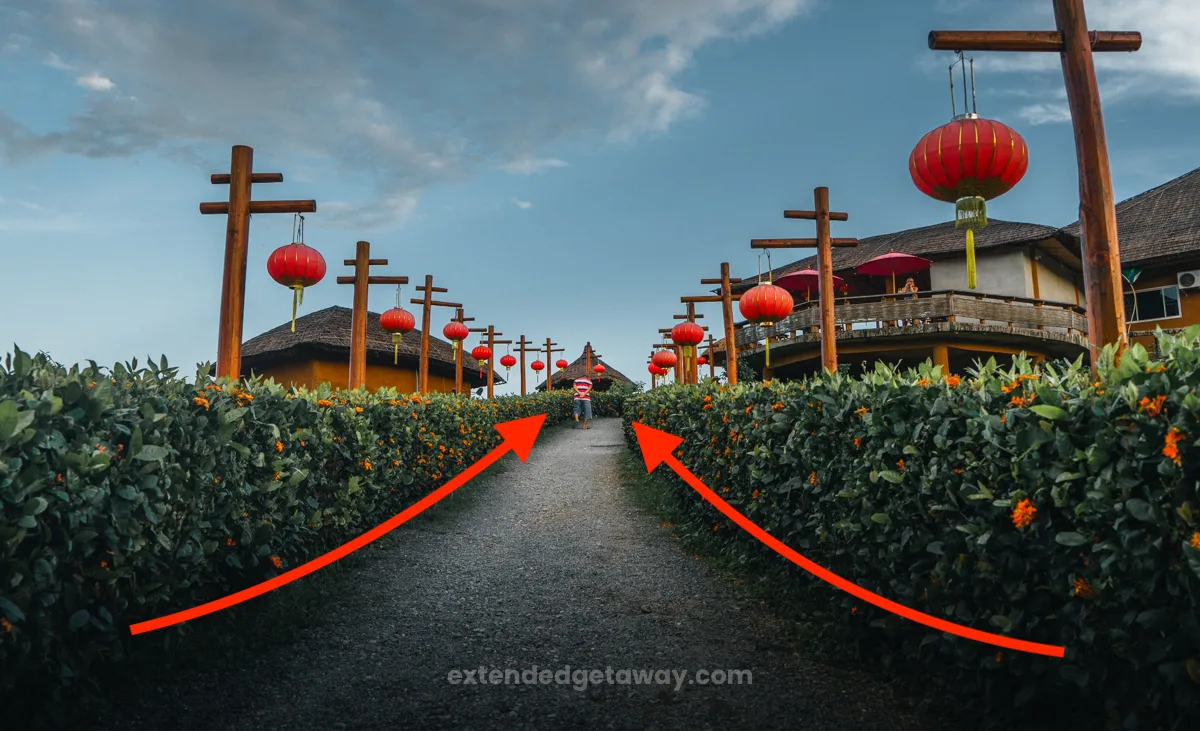
Leading lines can be anything. From road markings, power lines, lanterns, mountain ridges or even the subject itself! The choice is yours, it’s just up to you to keep a look out for them when you’re taking photos!
3. Don’t Be Afraid To Get Down Low (Or Up High)
Don’t be embarrassed! Pop a squat!
I think in travel photography for beginners, taking photos from the same height is a trap that most fall into! I certainly fell into the trap when I was first starting out.
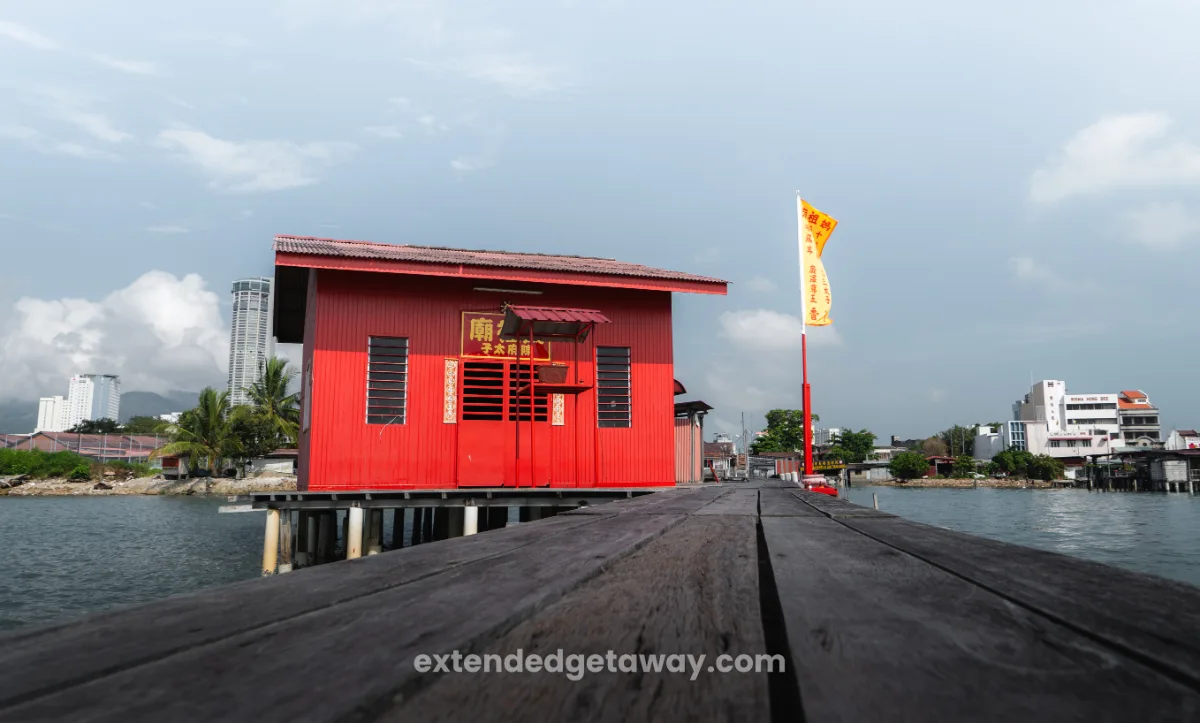
Even if you slightly change the height your photo is taken at – it can immediately improve your image. I often find that it even creates leading lines that I wouldn’t have had if I didn’t change my shooting angle.
Everyone takes photos from standing height, but how many get down low or up high to take the same photo? Not too many. This is your chance to stand out from the crowd.
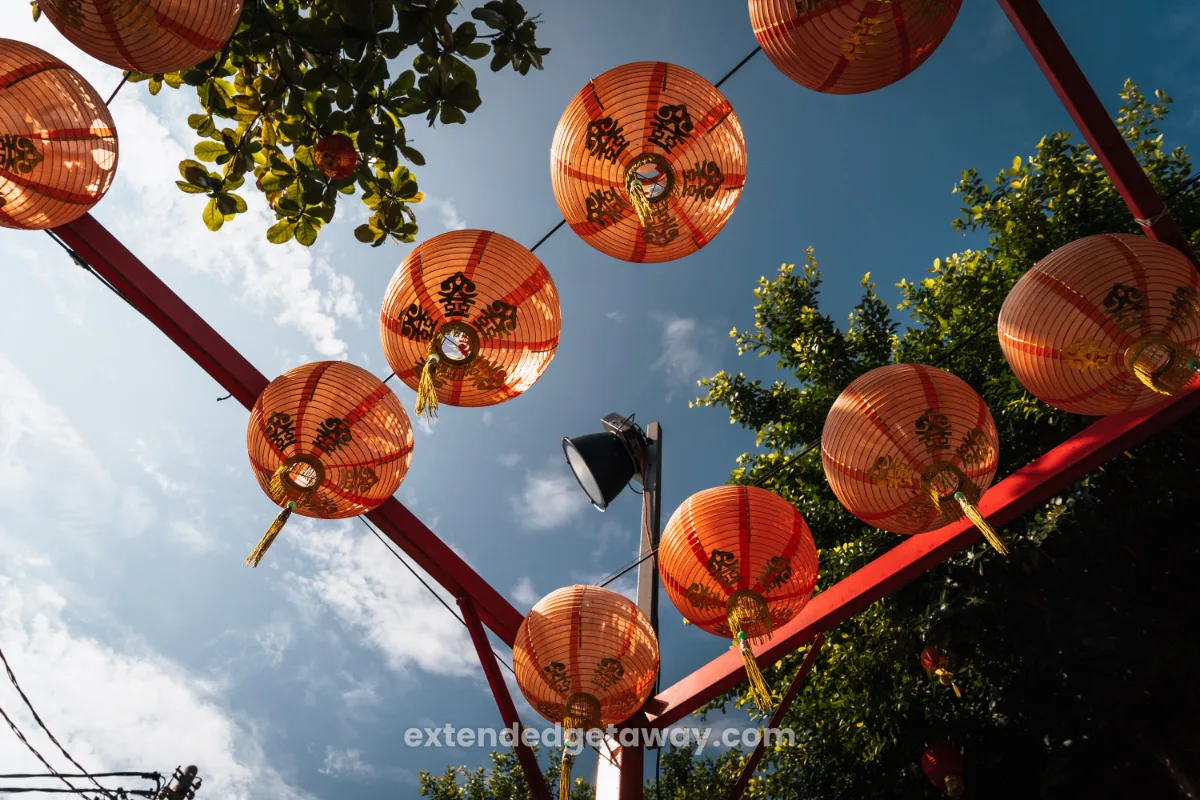
4. Find Interesting Framing
I’m always on the lookout for interesting ways I can frame the subject of my image. But why?
Simply put, framing is another way you can guide the viewer’s eyes to your subject.
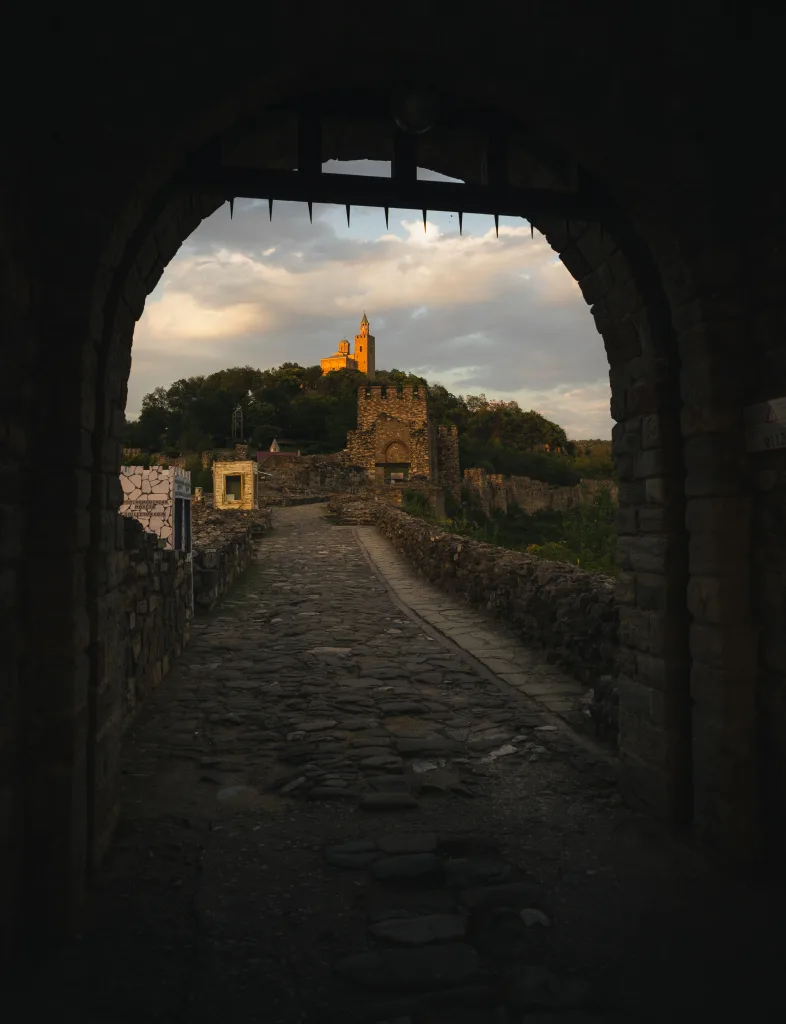
In travel photography for beginners, it can be really hard taking the exact same photo thousands of others have! Thus, you’ve got to find a way to make that same location yours.
An insane amount people have taken a photo of the Eiffel Tower, but I bet that none have taken the same photo through a random hole in the wall.

Have fun with this! It can be a way to spice up your travel photography if it all gets a bit repetitive.
5. Find People To Include
Travel photography is about telling a story. Personally, I believe including a person in the shot makes a photo ten times more interesting than the same shot without anyone in it.
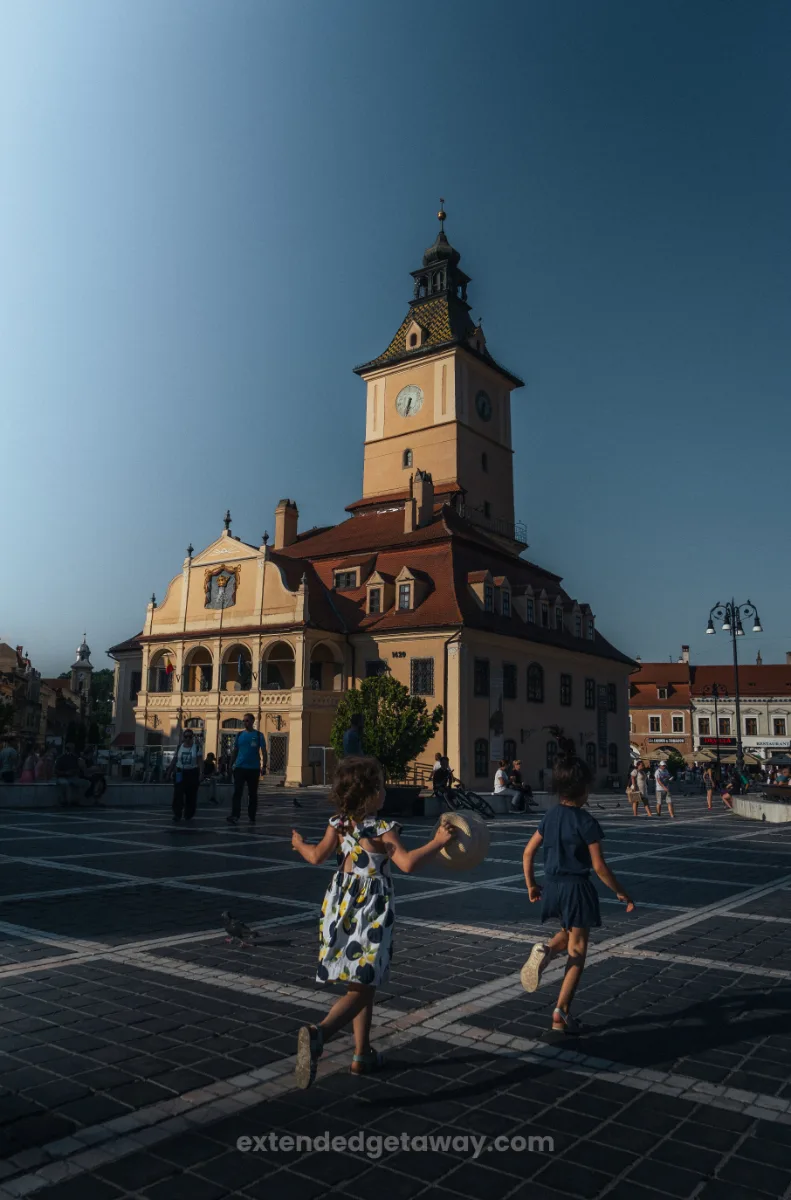
This is what made me fall in love with travel photography to begin with. It gives me a chance to showcase the way of life of people in different locations.
If you’re with friends, they can even stand in as a subject – making that mountain shot epic.
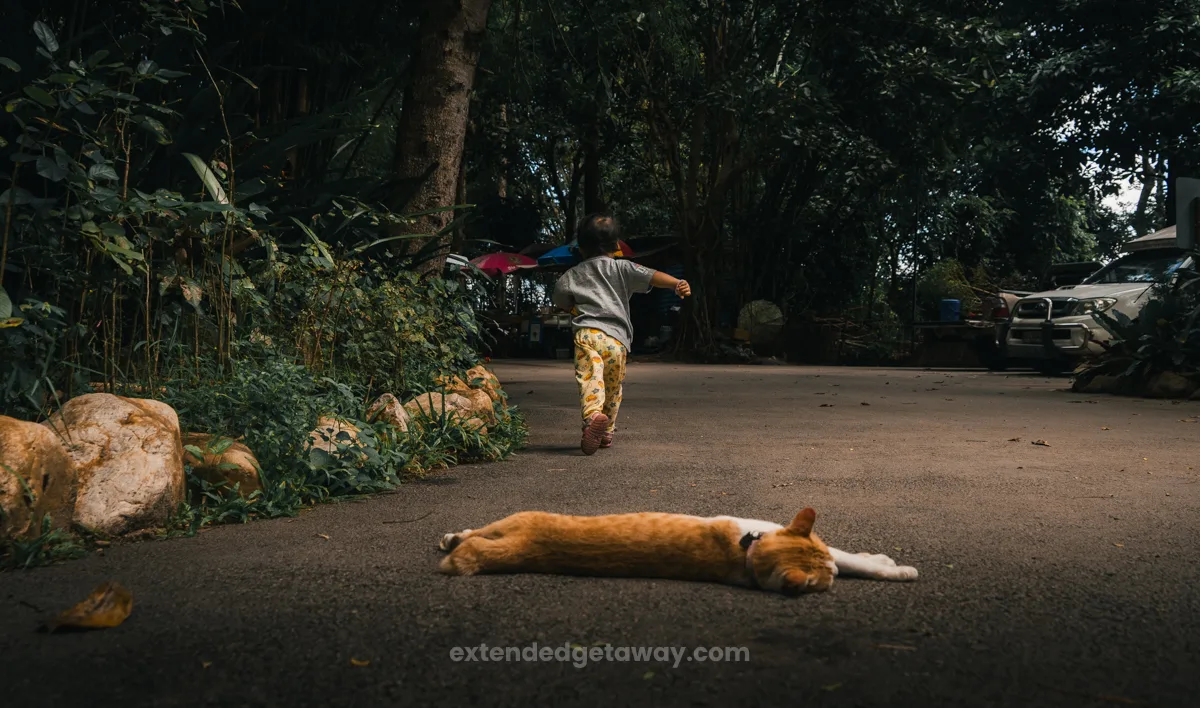
6. Lighting Is Everything
In travel photography for beginners, lighting is really under-appreciated. Whether it be natural or artificial, lighting creates depth in an image and makes it more aesthetically pleasing to look at.

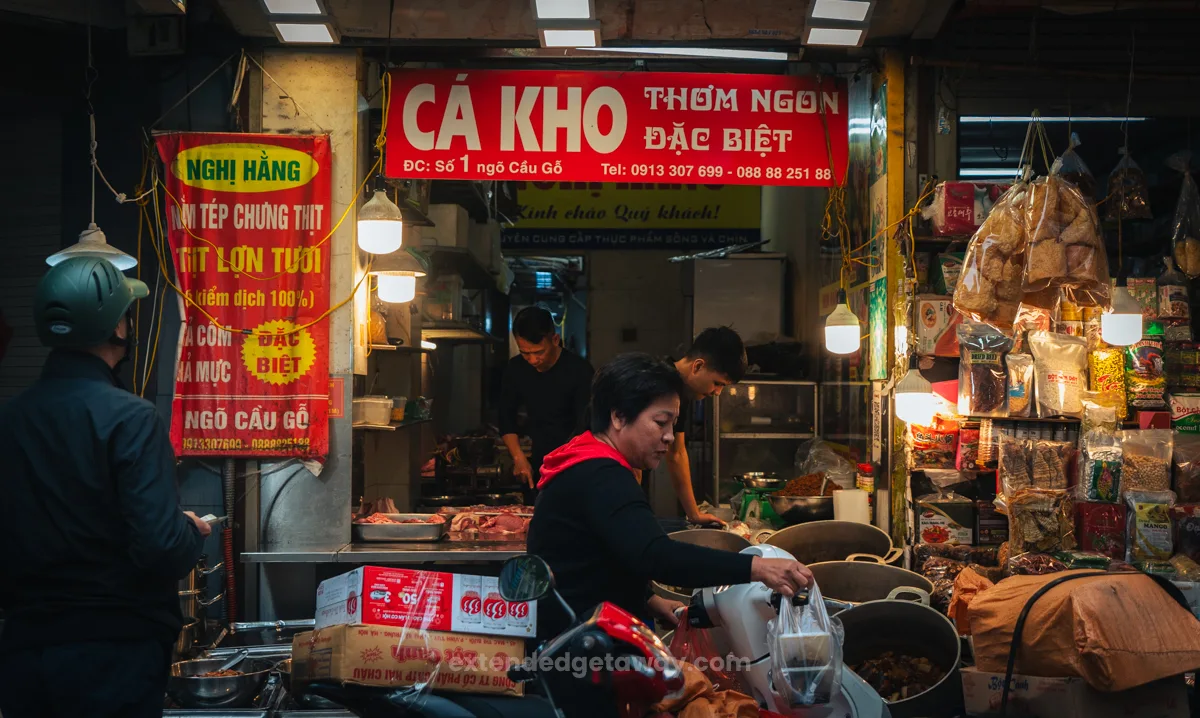
A big mistake beginners make is heading out in the middle of the day when the sun is at its harshest and the shadows are worse. Boring!
Golden hour is usually the best time to take photos for the best light!
Pro tip: Get up early and stay out late! Travel photography was never meant to be easy.
7. Planning
I’m a big advocate for just walking around and seeing what I can find to take photos of. But in travel photography for beginners, planning can help a lot.
Instead of worrying about where you want to take photos, you can scope out locations the previous day or research photo spots online so you can focus on the photography itself.
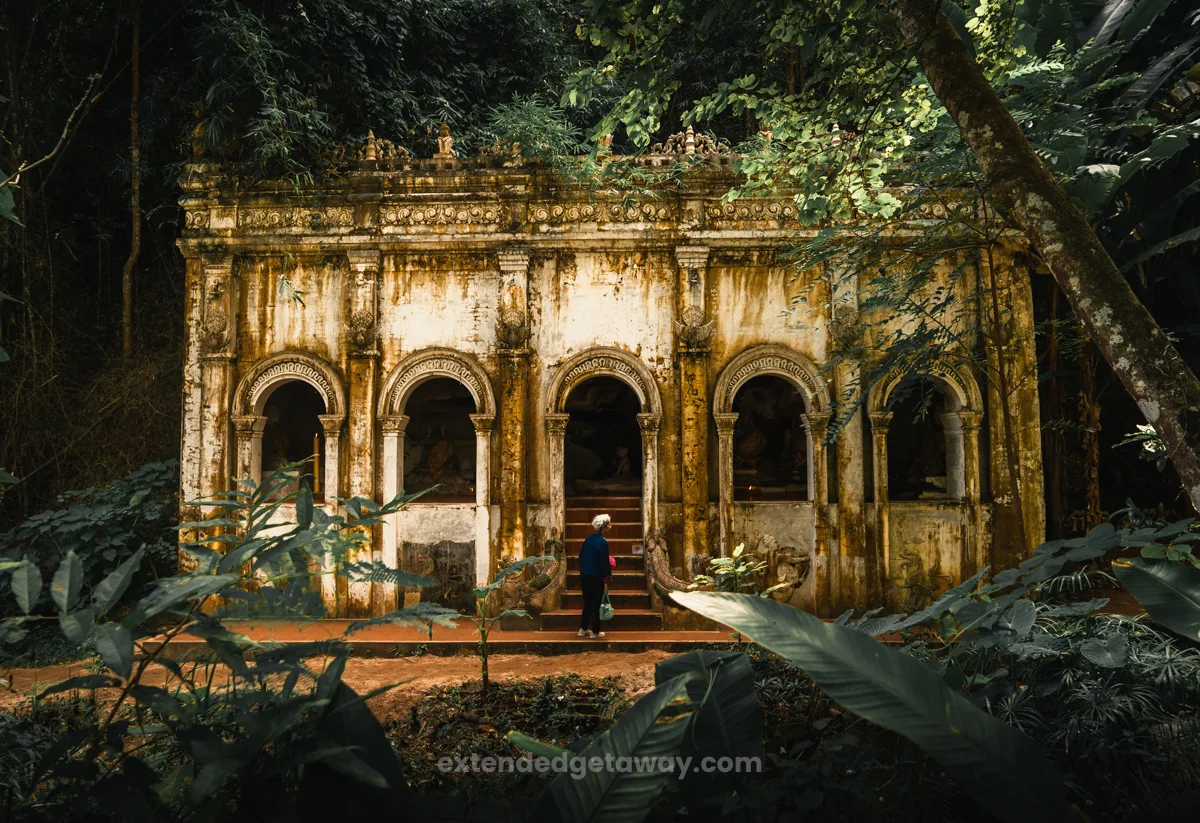
Planning can include:
- Location scouting
- Finding out where the light is best, what time does the sun rise and set?
- Creating a list of angles you want to get
- Checking the weather forecast! It’s no good to get up for sunrise and be met with clouds and rain.
8. Learn Your Camera Inside And Out
In travel photography for beginners, knowing the capabilities of your camera inside and out is so important. Unlocking all uses of your camera will help elevate your travel photography game.
Take your time – and enjoy the process.
9. Always Shoot RAW Photos
What are RAW photos? They’re essentially an image file type that is uncompressed and contains so much more details in the highlights and shadows than a JPEG file.
So why would you shoot RAW photos?
After you get back from your shoot – you will begin editing. Having RAW files to work with gives you so much more flexibility when it comes to exposure & colours which is what you want!

It also helps if you screw up the exposure – if you only had JPEG files to work with, they’d be completely unfixable!
Pro tip: Change your camera setting to shooting RAW only.
10. Experiment With Scale
In travel photography for beginners, scale is a real fun thing to experiment with.
Being able to show the true size of something makes a hell of a difference in travel photos because it increases the “wow” factor.
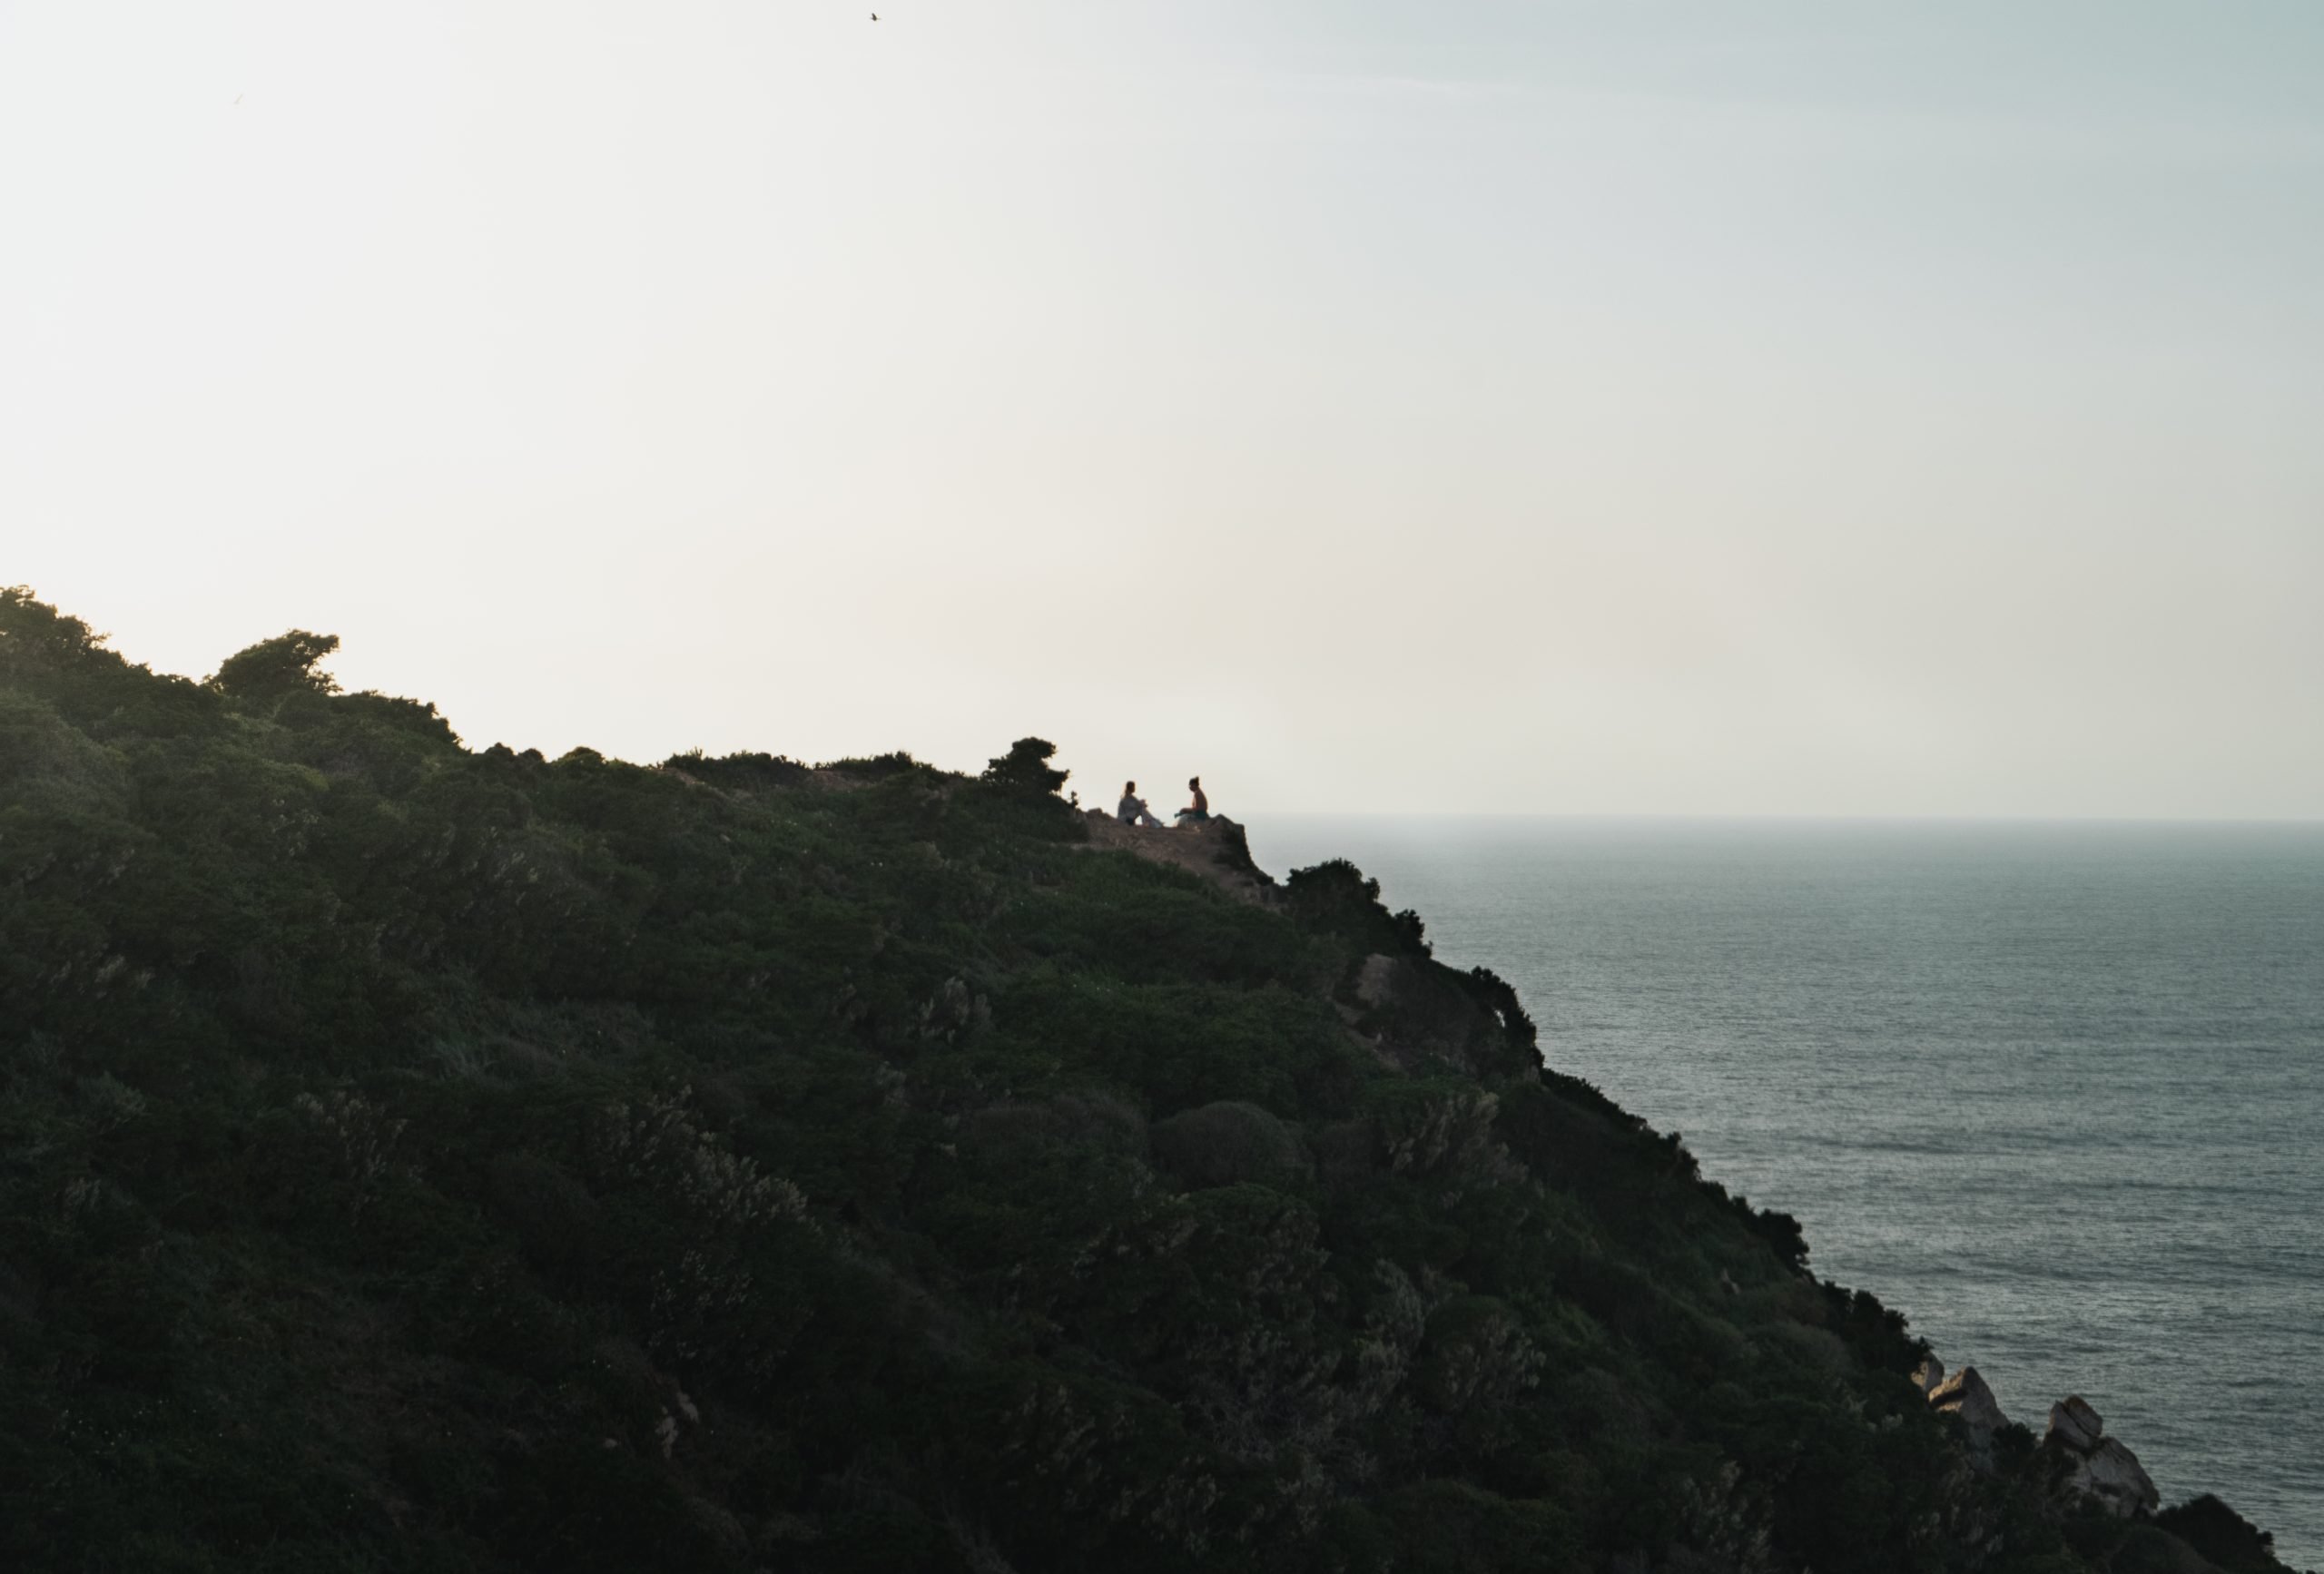
You can show scale in your images by comparing your subject with another subject. For example: a huge mountain and a tiny person.
11. Editing Is Everything
I didn’t realise how important editing is when I first started travel photography. This goes beyond adjusting your exposure, and it gives you the chance to muck around with the colours and framing too!
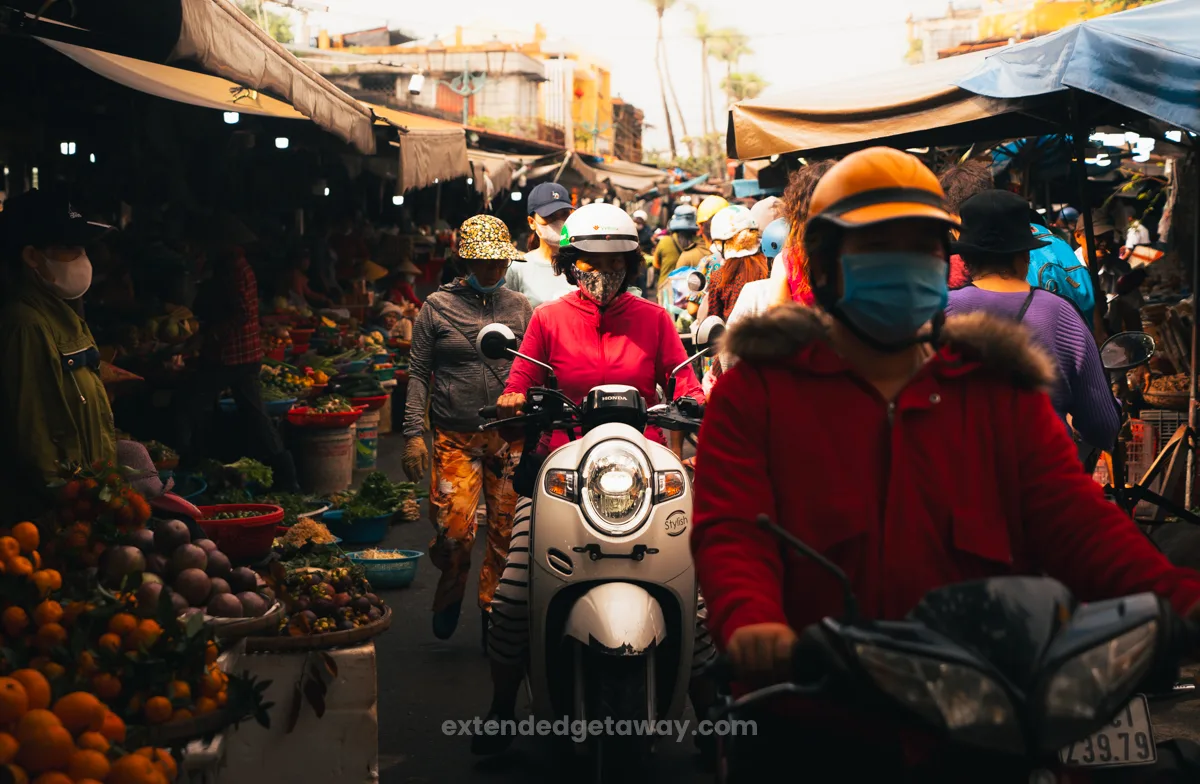
Beginner travel photographers might think that it is cheating to edit your photos, but it’s really not. Travel photography is an art form and finding your ‘style’ is an incredibly fun process.
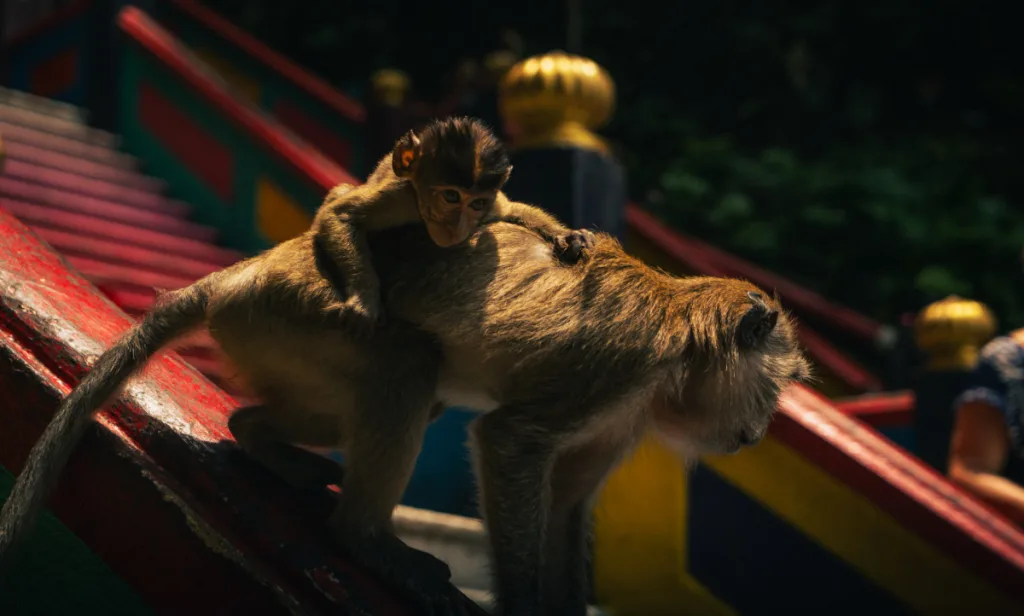
I use Adobe Lightroom CC to edit my photos, which is the best photo editing software on the market. If you can’t afford it, or want to experiment with it before going all in – they have a free mobile version that you can load your photos onto and edit from there.
Final Thoughts On Travel Photography For Beginners
The message i’ve been trying to convey through this guide is that travel photography for beginners should be fun.
Go into it with no pressure and know that you’re on your own journey to taking better travel photos. You will get better the more you practice, so keep at it! Remember, you are on your own journey and it will take time to improve.
For now, take your small wins and use them as motivation to stick with it!
Book Your Trip With My Favourite Resources:
Cheap Flights: I always use Skyscanner to browse for cheap flights. It offers so many options to help you find a good deal! It even allows you to search for “anywhere” if you haven’t decided where to go yet!
Accommodation: I start my hostel search with Hostelworld. Most hostels are now on this platform making it the place to find the best hostel for you.
Travel Insurance: If you can’t afford travel insurance, you can’t afford to travel. It is so important to have when travelling as it will save you from illness, injury, theft and cancellations! I always use Worldnomads when travelling on a budget as they have the best deals for me.